How to Create a Dynamic App NFT Resume
Level up your job search with a dynamic app NFT resume that will wow any employer.
Despite the current market conditions, web3 jobs are still on the rise. But competition is at an all-time high. Sure you can build a portfolio of projects to help display your skills, but that’s what everyone else is doing too. What can you do to stand out among the crowds of developers out there like yourself? How are you thinking outside the box?
Rather than another LinkedIn resume or eye-glazing PDF, what if a potential employer opened up their crypto wallet and saw an interactive resume NFT with your name on it? It would demonstrate not only your ability to make NFTs, but App NFTs—this concept that a full blown and functional application can be an NFT. You think that might crank things up a bit?
https://global-uploads.webflow.com/629e4fe96456f8219203e7f1/63bd95ce8503f7e7478918e7_Untitled.gif
This dynamic resume app NFT would show an ability to make anything an NFT, like an interactive comic book or even a small game. And you’d better believe it would get that employer intrigued enough to set up some time to chat with the power of simply dropping your resume into their wallet.
Sound interesting? Let’s talk about how you can create your own dynamic resume app NFT.
Building your Resume App NFT
Here we’ll give a general walkthrough of how to create this Resume App NFT, but the ultimate tutorial (and what is primarily referenced while building this) is Justin’s guide on how to create App NFTs using Pinata, Polygon and Opensea.
Let’s get into it.
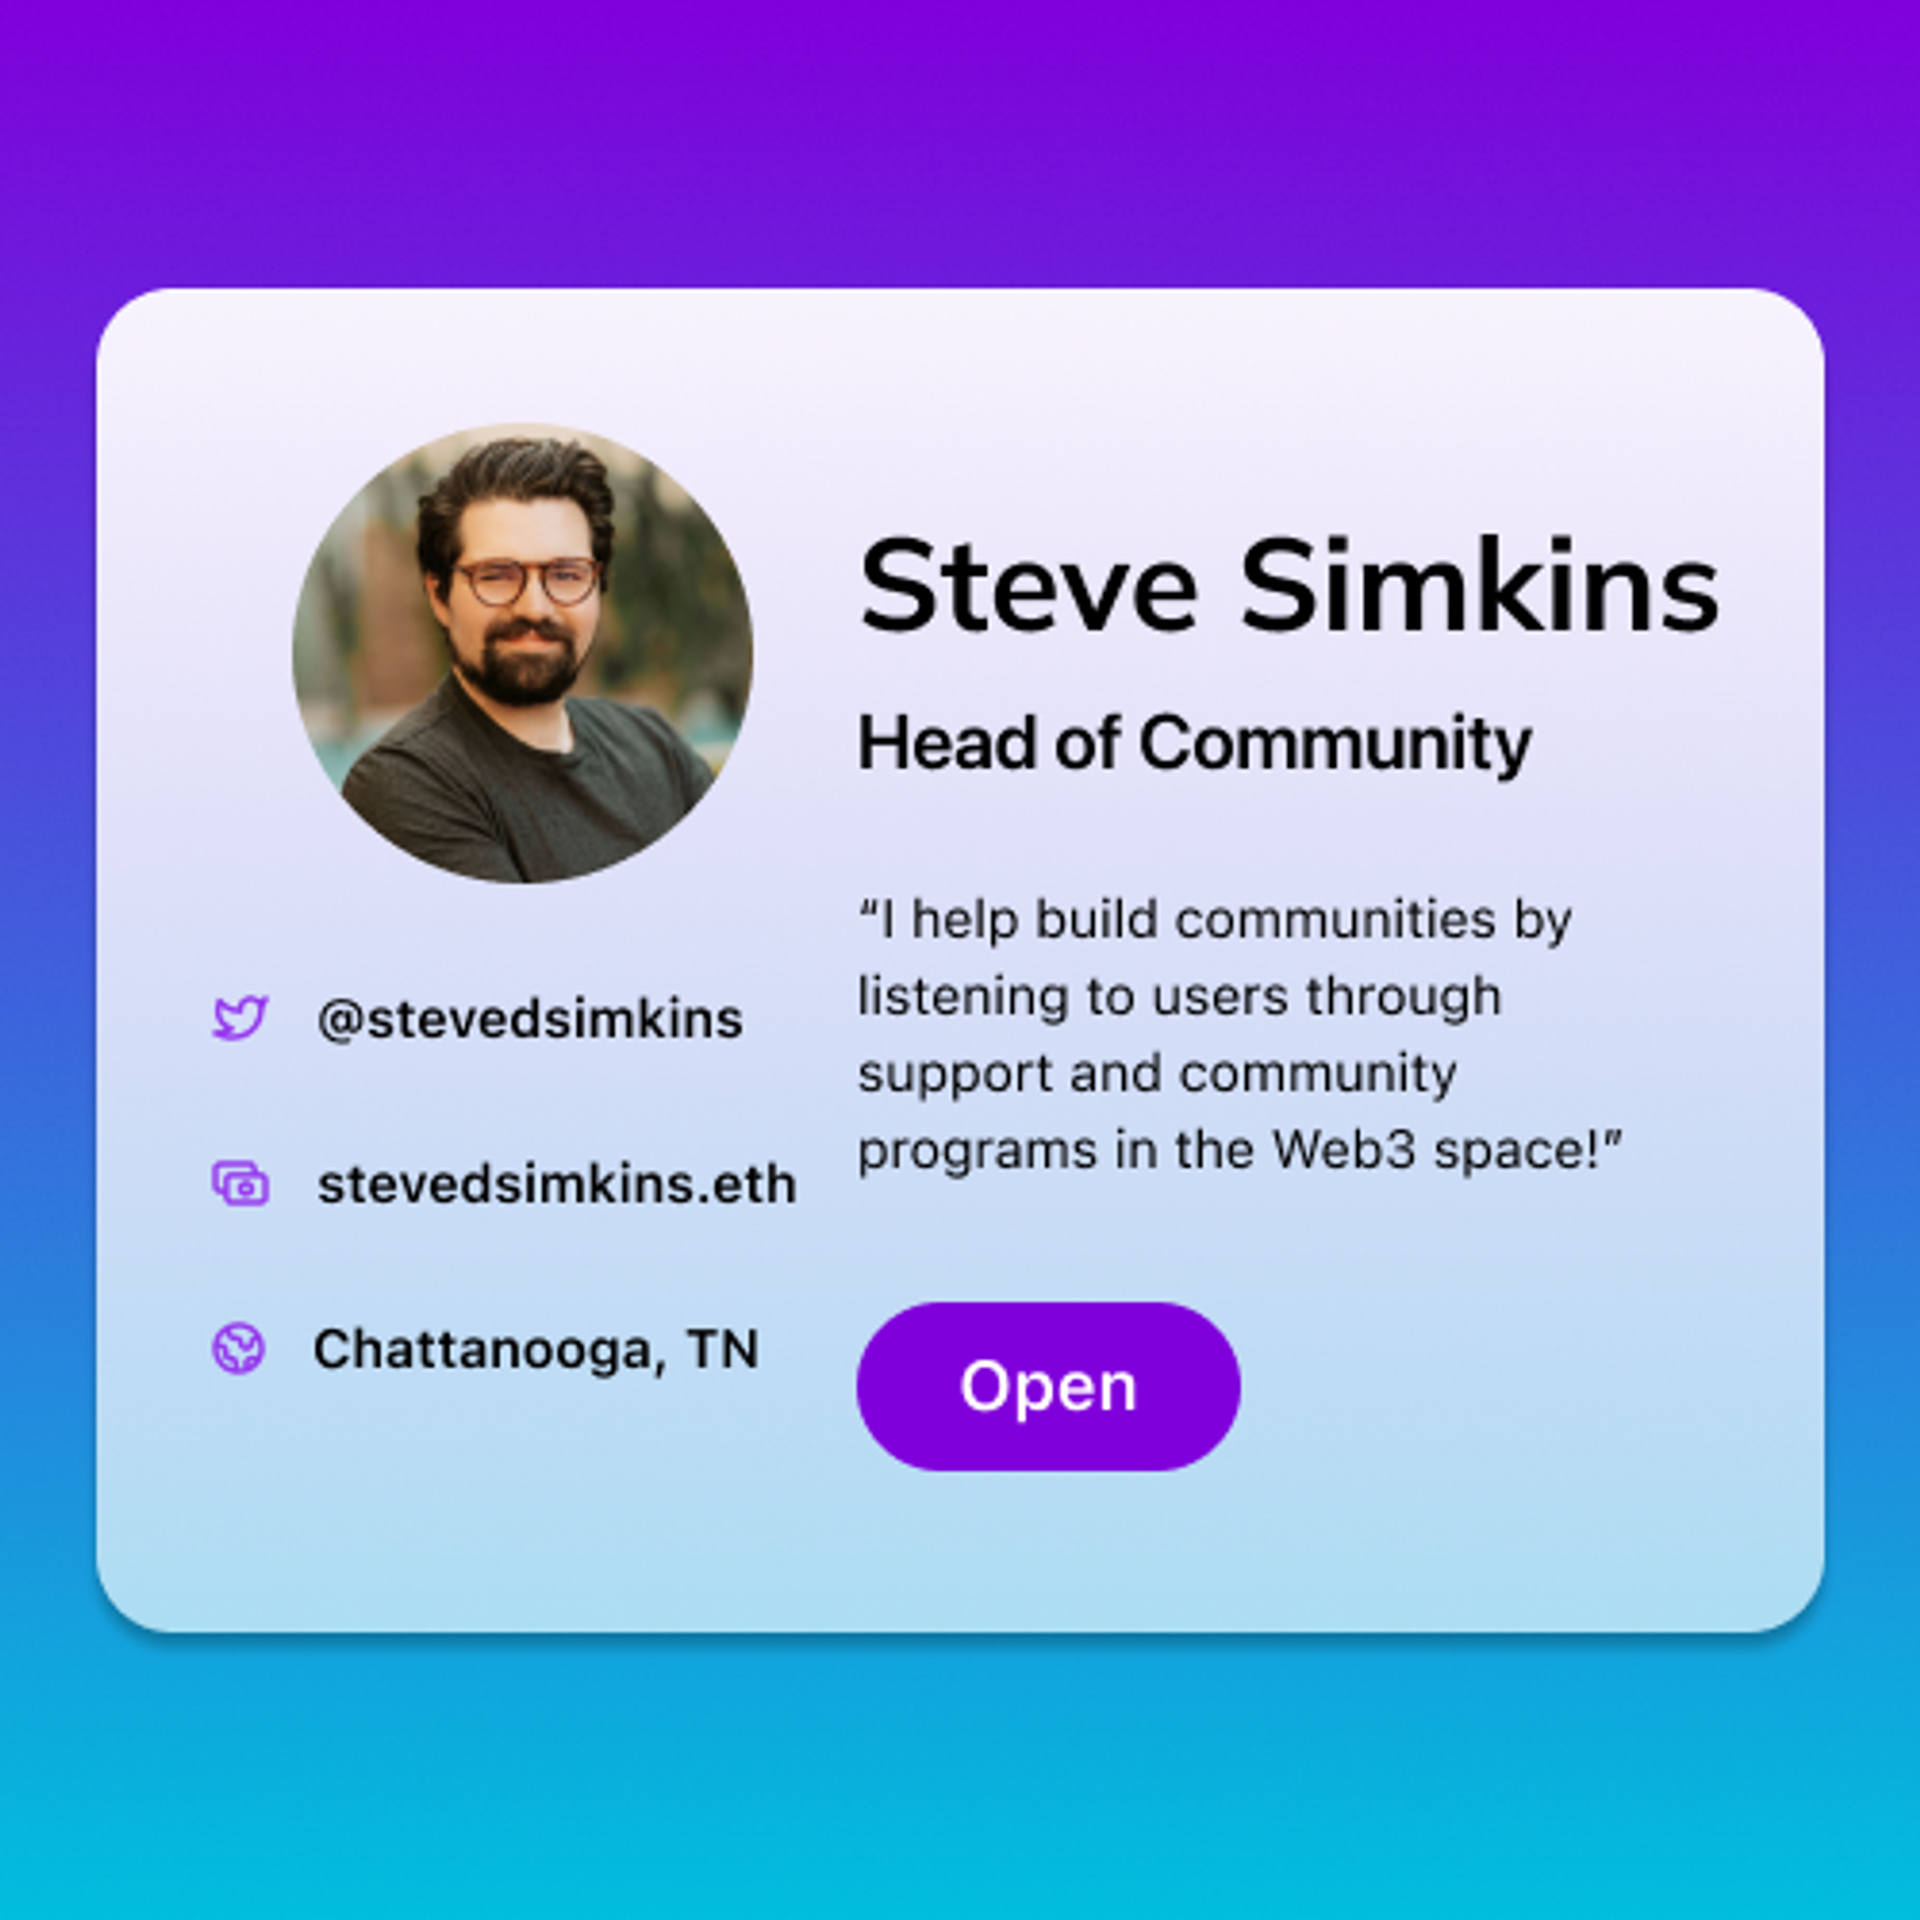
First things first, you need a vision of what your resume could look like. As the primary builder, our Head of Community Steve Simkins envisioned something more dynamic and interactive, taking advantage of all the fun web dev tools out there. It was important to keep in mind what this would look like from an NFT marketplace like Opensea or a crypto wallet, making sure it’s size would not cause problems.
Steve spent sometime tinkering in Figma and ended up with a card like design that could have multiple screens with different pieces of the resume. The reader could hover over the card and get a cool 3D effect, and click on the forward and back buttons to read through his skills.
After the design was finished, it was time to build the app. Steve followed Justin’s tutorial by making a simple React application and made sure to use “homepage”: “.” in the package.json file; very important to make sure it runs correctly on Pinata and IPFS. From there Steve used some standard issue web design methods and created a static “website” or app that was his resume. Of course for this step you can use just about any kind of javascript framework or tools, not just React. Once the development was complete, Steve ran the build command and uploaded the build folder to Pinata.
As said in Justin’s tutorial, you can use a free Pinata account to do all of this, but to truly harness the full user experience of this app, using a paid account with a Dedicated Gateway will make this app much faster than if you used a public gateway or depended on external sources. Here is an example of the application through Steve’s Dedicated Gateway:
Awesome! Resume app is done, time to turn it into an NFT. Following the guide, Steve created a simple smart contract to deploy the App NFT in a way that he could keep updating it with new versions, very handy if you ever have an update in experience or education. Also keep in mind you can do your own smart contract customization here to do cool stuff, like mass airdrop your NFT to a list of wallets or ENS addresses!
With the smart contract tested and ready to go, it was time to prep the metadata for the NFT. Steve kept it pretty simple with a name, description, image link for thumbnails, and used his Dedicated Gateway link in the animation_url for performance.
{
	"name": "Steve's App NFT Resume",
	"description": "A dynamic NFT resume by Steve",
	"image": "ipfs://QmTa46bKHxcQCBoNt887X2zNJwAHpAZ93hTXDi9KeJeM4W",
	"animation_url": "https://stevedsimkins.mypinata.cloud/ipfs/QmdKYQpczE7giv15Yx2tkk1pkbRe862eaLhTR5e7FjhJ8F/index.html"
}
With the metadata.json file complete, Steve uploaded that file to Pinata as well and used the CID as the token URI like so:
const URI = "ipfs://QmU85vmit8ShrUpnJFg3wEAMA61GcQB2X5KcgabchDV1kt";That’s it! After Steve ran the deployment command with Hardhat, the NFT had been minted in his wallet where we could see it on OpenSea! Check it out 😎
Of course this app is a fun proof of concept, but with some more refining and perhaps a better framework, you can make efficient applications that can be owned as NFTs. This is just one of the many possibilities, all of which could either make your portfolio impressive, or even launch your own company 👀 What will you build?